Seal Coating in Hampton Bays, NY

Protect Your Asphalt Investment Today

Professional seal coating that extends your driveway’s life and saves you thousands in replacement costs.

A person is applying grey tile adhesive with a notched trowel, laying large rectangular tiles in a staggered pattern. Red spacers are visible between the tiles.

Hear from Our Customers

A construction worker in a gray hoodie and gloves is bending over, placing rectangular paving stones on the ground to build a sidewalk or patio. Tools and construction materials are visible in the background.

Hampton Bays Driveway Sealing Services

Your Asphalt Problems Solved

You’re watching your driveway fade from rich black to weathered gray. Small cracks are starting to appear, and you know it’s only going to get worse.

Here’s what changes after proper sealcoating. Your asphalt gets a protective barrier against Hampton Bays’ harsh coastal conditions – salt air, UV rays, and temperature swings that break down unprotected surfaces. Water stops penetrating through tiny cracks before they become major problems.

The result? Your driveway looks like new again, with that deep black finish that makes your property stand out. More importantly, you’ve just extended its lifespan by 3-5 years and avoided a $15,000+ replacement project. That’s real money staying in your pocket.

Trusted Hampton Bays Sealcoating Company

Local Expertise You Can Count On

We’ve been protecting Hampton Bays asphalt surfaces for years. We understand what coastal Long Island weather does to your driveway – and more importantly, how to stop it.

We’re not the fly-by-night crew that shows up with watered-down sealer and disappears. We use commercial-grade materials designed specifically for our climate conditions. Every job gets the same attention whether it’s a residential driveway or commercial parking lot.

You’ll find us right here in the community when you need us, not three towns over when problems arise.

Stacks of gray concrete paving stones on the ground next to an unfinished pathway, with some pavers already laid in place; yellow sand and soil are visible nearby.

Professional Asphalt Sealing Process

Here's Exactly What Happens

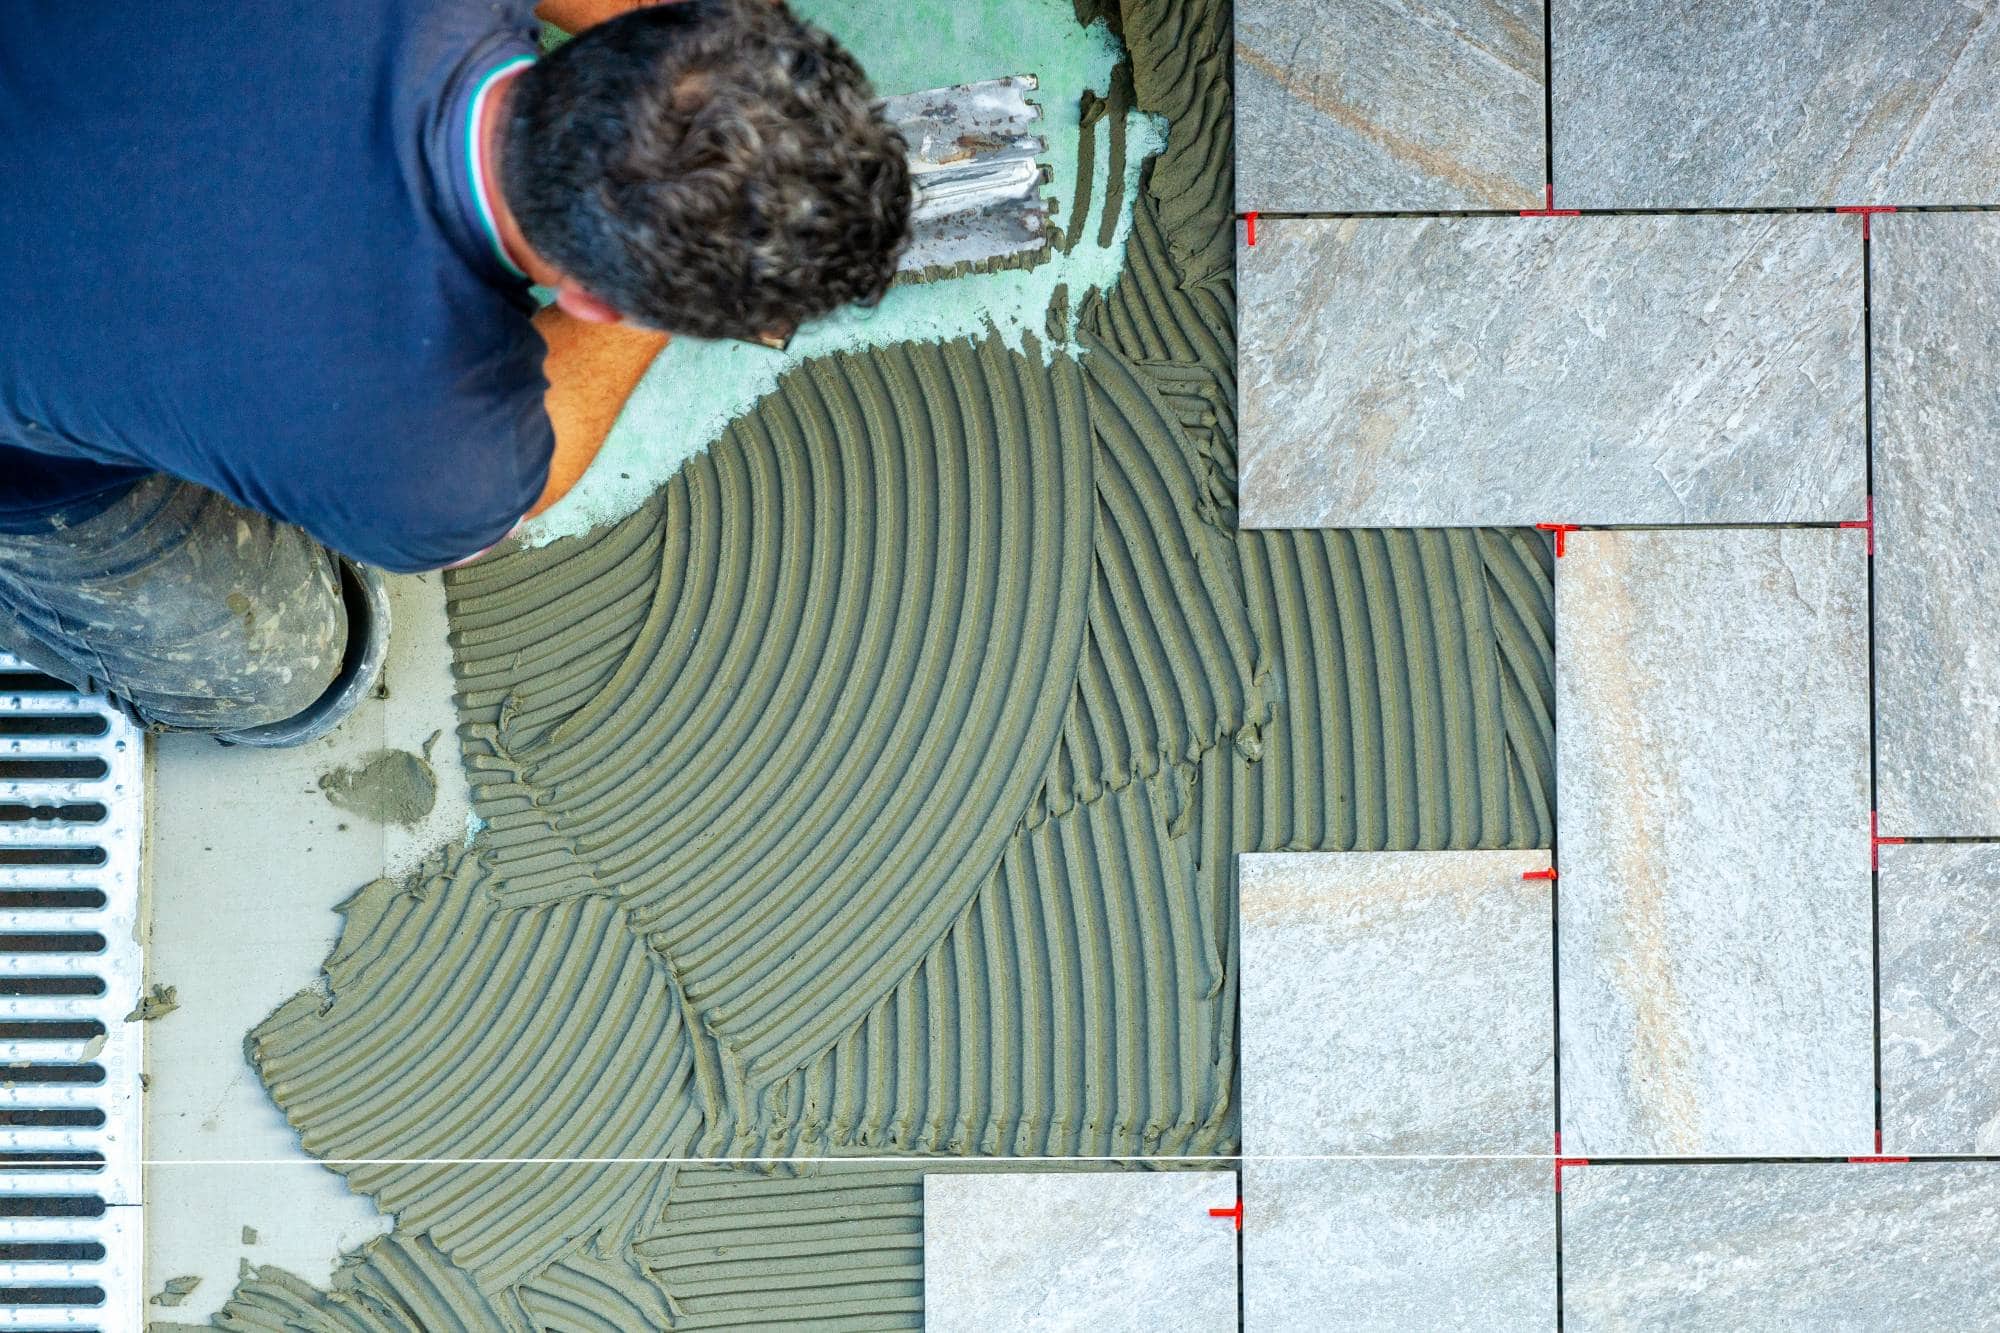
First, we clean your asphalt thoroughly – removing dirt, debris, and any vegetation growing in cracks. This step matters because sealer won’t bond properly to a dirty surface.

Next, we fill any cracks larger than a quarter-inch. Small cracks get sealed during the coating process, but bigger ones need individual attention to prevent water infiltration.

Then comes the actual sealcoating application. We apply two thin, even coats using professional equipment – not the brush-on approach that leaves streaks and thin spots. The first coat penetrates and bonds, the second provides the protective barrier and finished appearance.

Finally, we mark the area and give you clear instructions about when it’s safe to walk and drive on the surface. Proper curing time isn’t negotiable if you want results that last.

Three construction workers in work clothes and kneepads stand on a partially completed outdoor stone patio near steps, with tools and a black toolbox nearby. Their upper bodies are mostly out of frame.

Ready to get started?

Explore More Services

About All Purpose Paving | Serving all of Suffolk County, NY

Get a Free Consultation

Complete Blacktop Sealing Solutions

What's Included In Every Job

You get thorough surface preparation, crack filling for openings up to one inch, and two coats of premium coal tar or asphalt-based sealer. We handle the cleanup and provide clear post-application care instructions.

Our sealers are specifically chosen for Hampton Bays conditions. The salt air here is tougher on asphalt than inland areas, so we don’t use the same products you’d see in other parts of New York. This attention to local conditions is why our applications last longer.

We also time everything around the weather. Sealcoating needs 24-48 hours of dry conditions to cure properly. We watch the forecast closely and reschedule if needed rather than rush a job that won’t perform.

A construction worker wearing gloves, knee pads, and boots is crouched down, placing gray paving stones onto gravel at a work site. Dirt and tools are visible in the background.
Most Hampton Bays driveways need sealcoating every 2-3 years, but it depends on traffic and exposure. A driveway with heavy use or full sun exposure might need attention every 2 years, while a lightly used driveway in partial shade could go 3-4 years. The key indicator is color – when your asphalt starts looking gray instead of black, it’s time. Don’t wait for cracks to appear, because by then you’re dealing with repairs, not just preventative maintenance.
Late spring through early fall works best – typically May through September. You need temperatures above 50 degrees and no rain for 24-48 hours after application. Hampton Bays’ coastal location means we get more humidity and unpredictable weather than inland areas, so timing matters more here. Summer is ideal because you get consistent warm temperatures and lower humidity. We avoid late fall and winter entirely because cool temperatures prevent proper curing, leading to premature failure.
Plan on 24-48 hours before driving on your sealed driveway, depending on temperature and humidity. You can usually walk on it after 4-6 hours, but vehicle traffic is different – cars concentrate weight in small tire contact patches, which can leave permanent marks in partially cured sealer. Hampton Bays’ coastal humidity can extend curing time, so we err on the side of caution. It’s better to park on the street an extra day than damage a fresh sealcoat that should last 3+ years.
Sealcoating fills small surface cracks (hairline to about 1/8 inch), but larger cracks need separate crack filling before we apply sealer. Think of sealcoating as a protective topcoat, not a structural repair. If your driveway has cracks wider than a quarter, we’ll fill those first with rubberized crack filler, then sealcoat over everything. This approach prevents water from getting underneath and causing bigger problems. Sealcoating alone won’t fix structural issues, but it will prevent small problems from becoming major ones.
Professional sealcoating typically costs $0.15-0.25 per square foot for materials and labor, while DIY sealer runs $0.05-0.10 per square foot just for materials. But here’s what you’re really comparing: professional application lasts 3+ years with proper surface prep and commercial-grade sealer, while most DIY jobs need redoing within 12-18 months. Factor in your time, equipment rental, and the higher failure rate of DIY applications, and professional service usually costs less per year of protection. Plus, we handle the mess and know how to avoid common mistakes that ruin the job.
Rain on uncured sealcoat can cause serious problems – washing away sealer, creating thin spots, or leaving permanent water marks. That’s why we check weather forecasts carefully before starting any job. If unexpected rain hits within the first 4-6 hours, the damage is usually severe enough to require reapplication. After 6-12 hours, light rain might leave some marking but won’t destroy the job. This is why choosing an experienced contractor matters – we know when conditions are right and when to wait, even if it means rescheduling.