Seal Coating in Deer Park, NY

Your Driveway Protected for Years

Professional seal coating that stops cracks, blocks water damage, and keeps your asphalt looking sharp.

A person is applying grey tile adhesive with a notched trowel, laying large rectangular tiles in a staggered pattern. Red spacers are visible between the tiles.

Hear from Our Customers

A construction worker in a gray hoodie and gloves is bending over, placing rectangular paving stones on the ground to build a sidewalk or patio. Tools and construction materials are visible in the background.

Driveway Sealing Deer Park

What Proper Sealcoating Actually Does

You’re looking at years of extra life from your driveway. That’s what happens when you seal coat before the damage gets serious.

Water stops seeping through those hairline cracks that turn into major problems during Long Island winters. Your asphalt stays flexible instead of becoming brittle and cracked. The sun’s UV rays can’t fade and dry out the surface anymore.

Most importantly, you’re avoiding that $8,000 to $15,000 replacement bill that hits when maintenance gets ignored too long. Seal coating every few years keeps your driveway working and looking right without the major expense.

Asphalt Sealing Deer Park

We Know Long Island Driveways

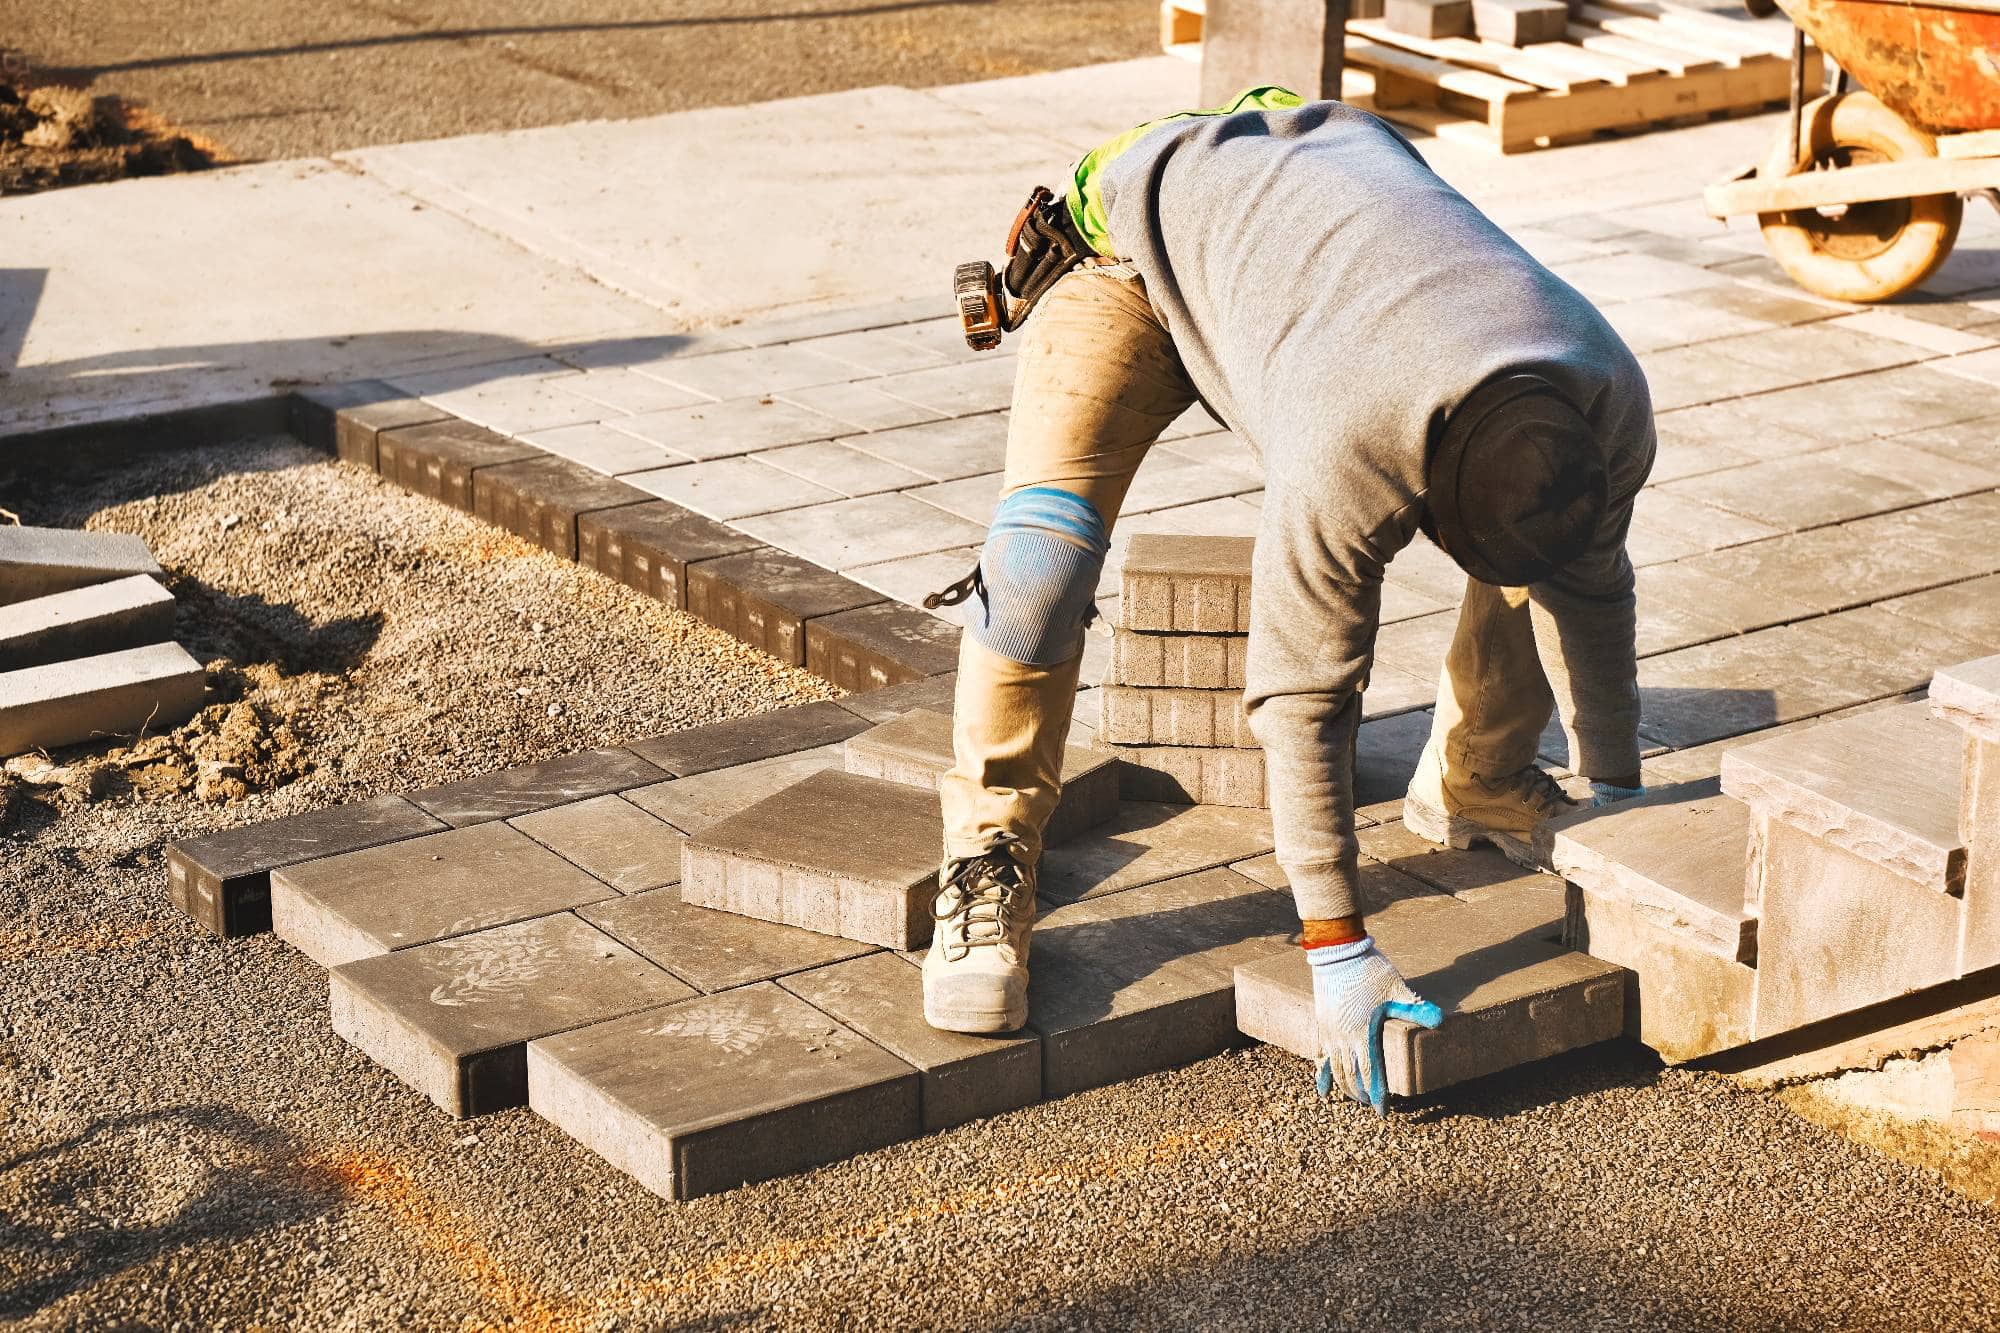
We’ve been handling driveway and parking lot maintenance across Deer Park and Long Island for years. We understand what the coastal climate, winter salt, and freeze-thaw cycles do to asphalt around here.

You’re not getting a crew that learned the trade somewhere else. We’ve been sealing driveways in this area long enough to know which materials hold up and which application methods actually work in New York weather.

The difference shows in how long our sealcoating jobs last and how they look after a few seasons.

Stacks of gray concrete paving stones on the ground next to an unfinished pathway, with some pavers already laid in place; yellow sand and soil are visible nearby.

Sealcoating Process Deer Park

How We Handle Your Sealcoating

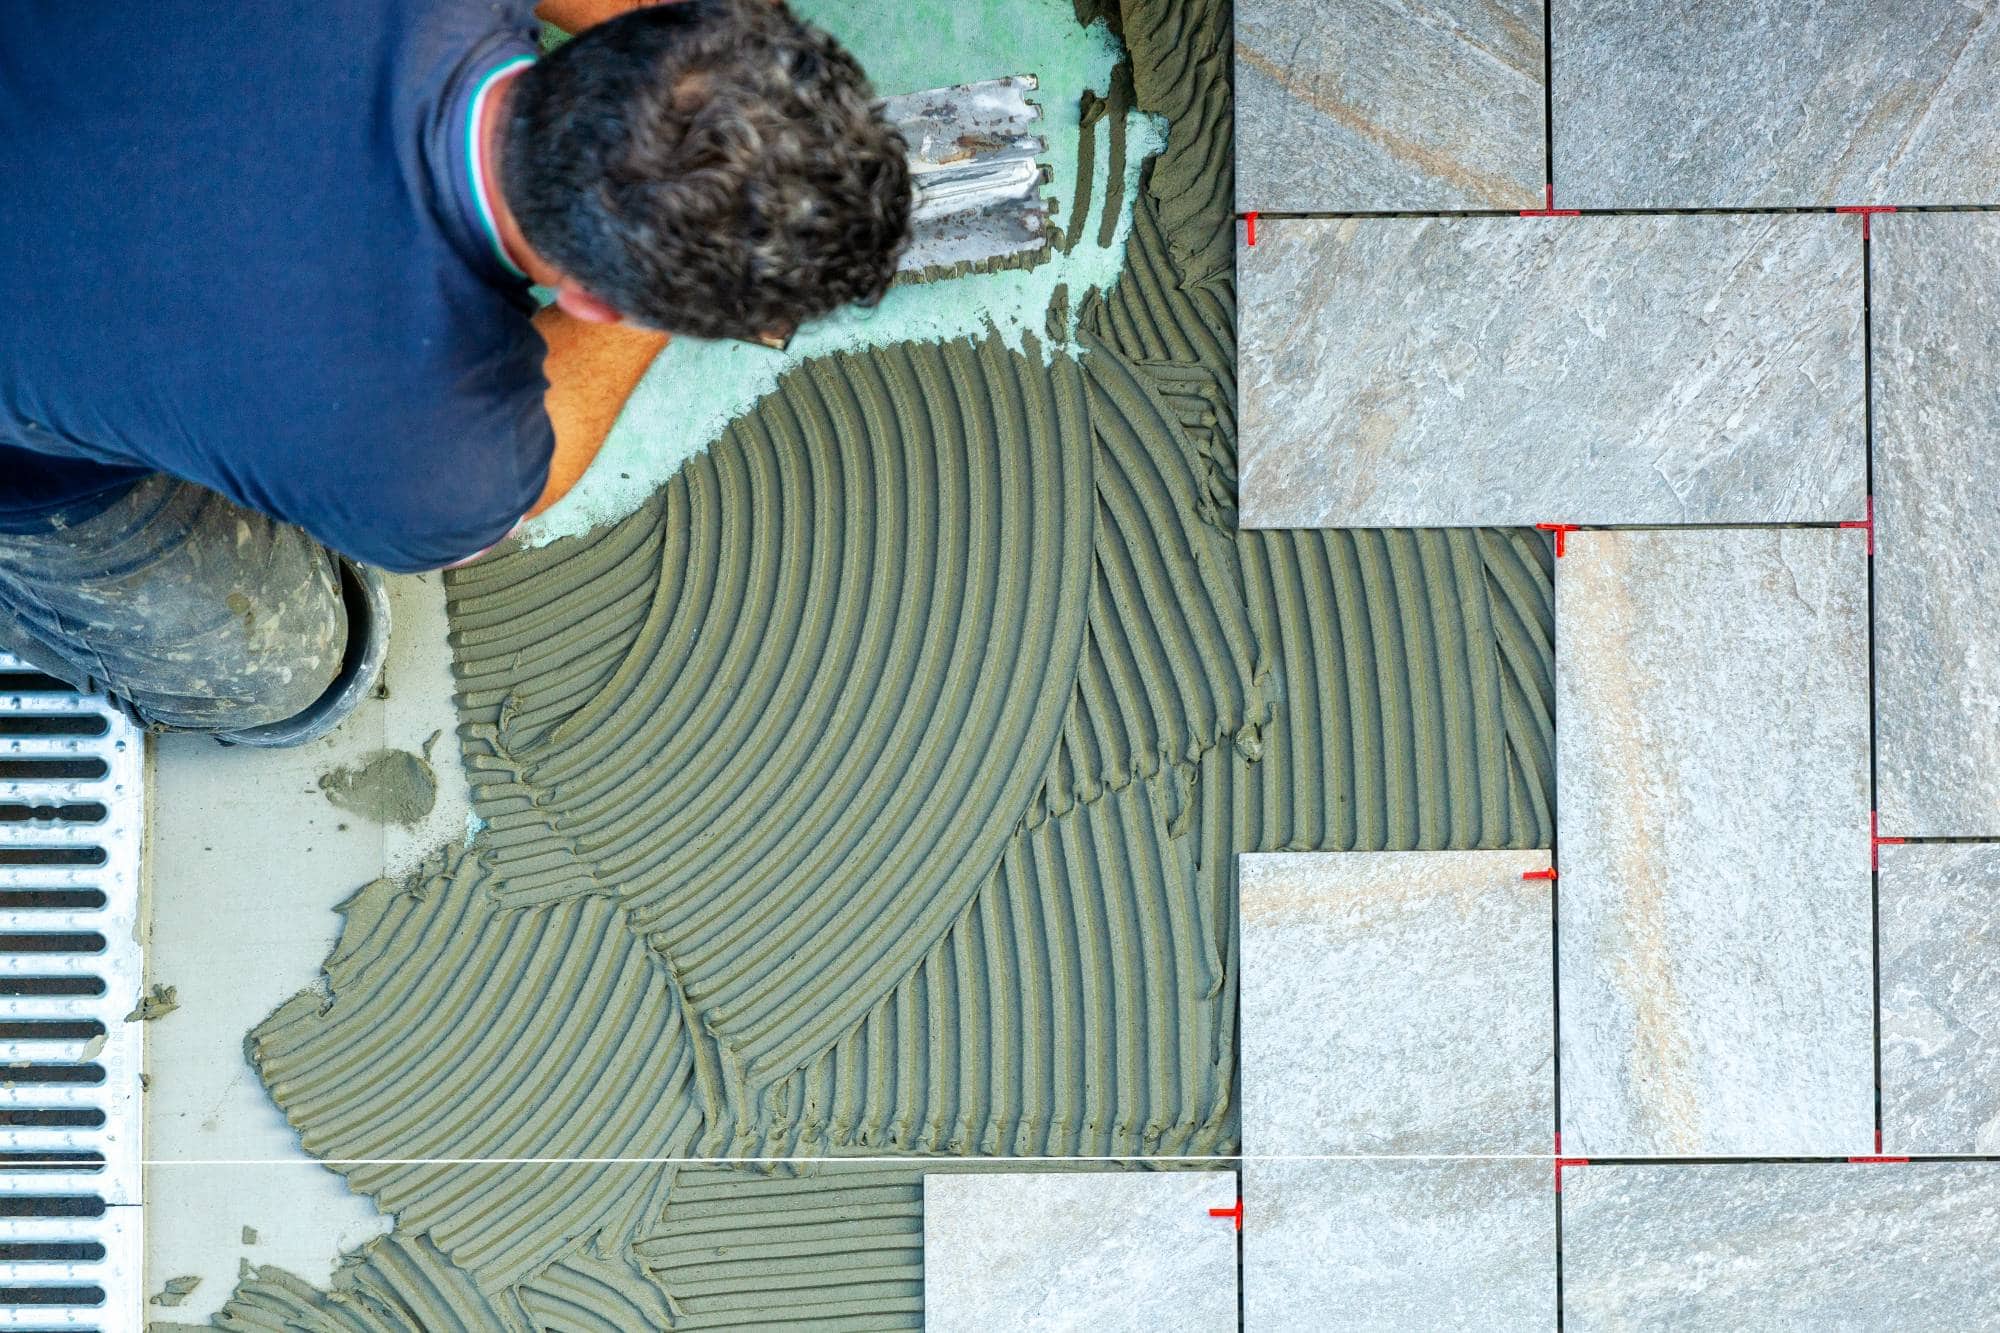
First, we clean your driveway completely. Oil stains get treated, debris gets removed, and any vegetation growing through cracks gets cleared out. This step determines how well the sealer bonds to your asphalt.

Next comes crack filling for anything wider than a hairline. We’re not just covering problems – we’re fixing them so they don’t come back through the new coating.

Then we apply the sealcoat using professional-grade equipment that ensures even coverage. No thin spots, no streaks, no areas that’ll wear through early. The whole process takes a day, and you can drive on it within 24-48 hours depending on weather conditions.

Three construction workers in work clothes and kneepads stand on a partially completed outdoor stone patio near steps, with tools and a black toolbox nearby. Their upper bodies are mostly out of frame.

Ready to get started?

Explore More Services

About All Purpose Paving | Serving all of Suffolk County, NY

Get a Free Consultation

Blacktop Sealing Services

What's Included in Our Service

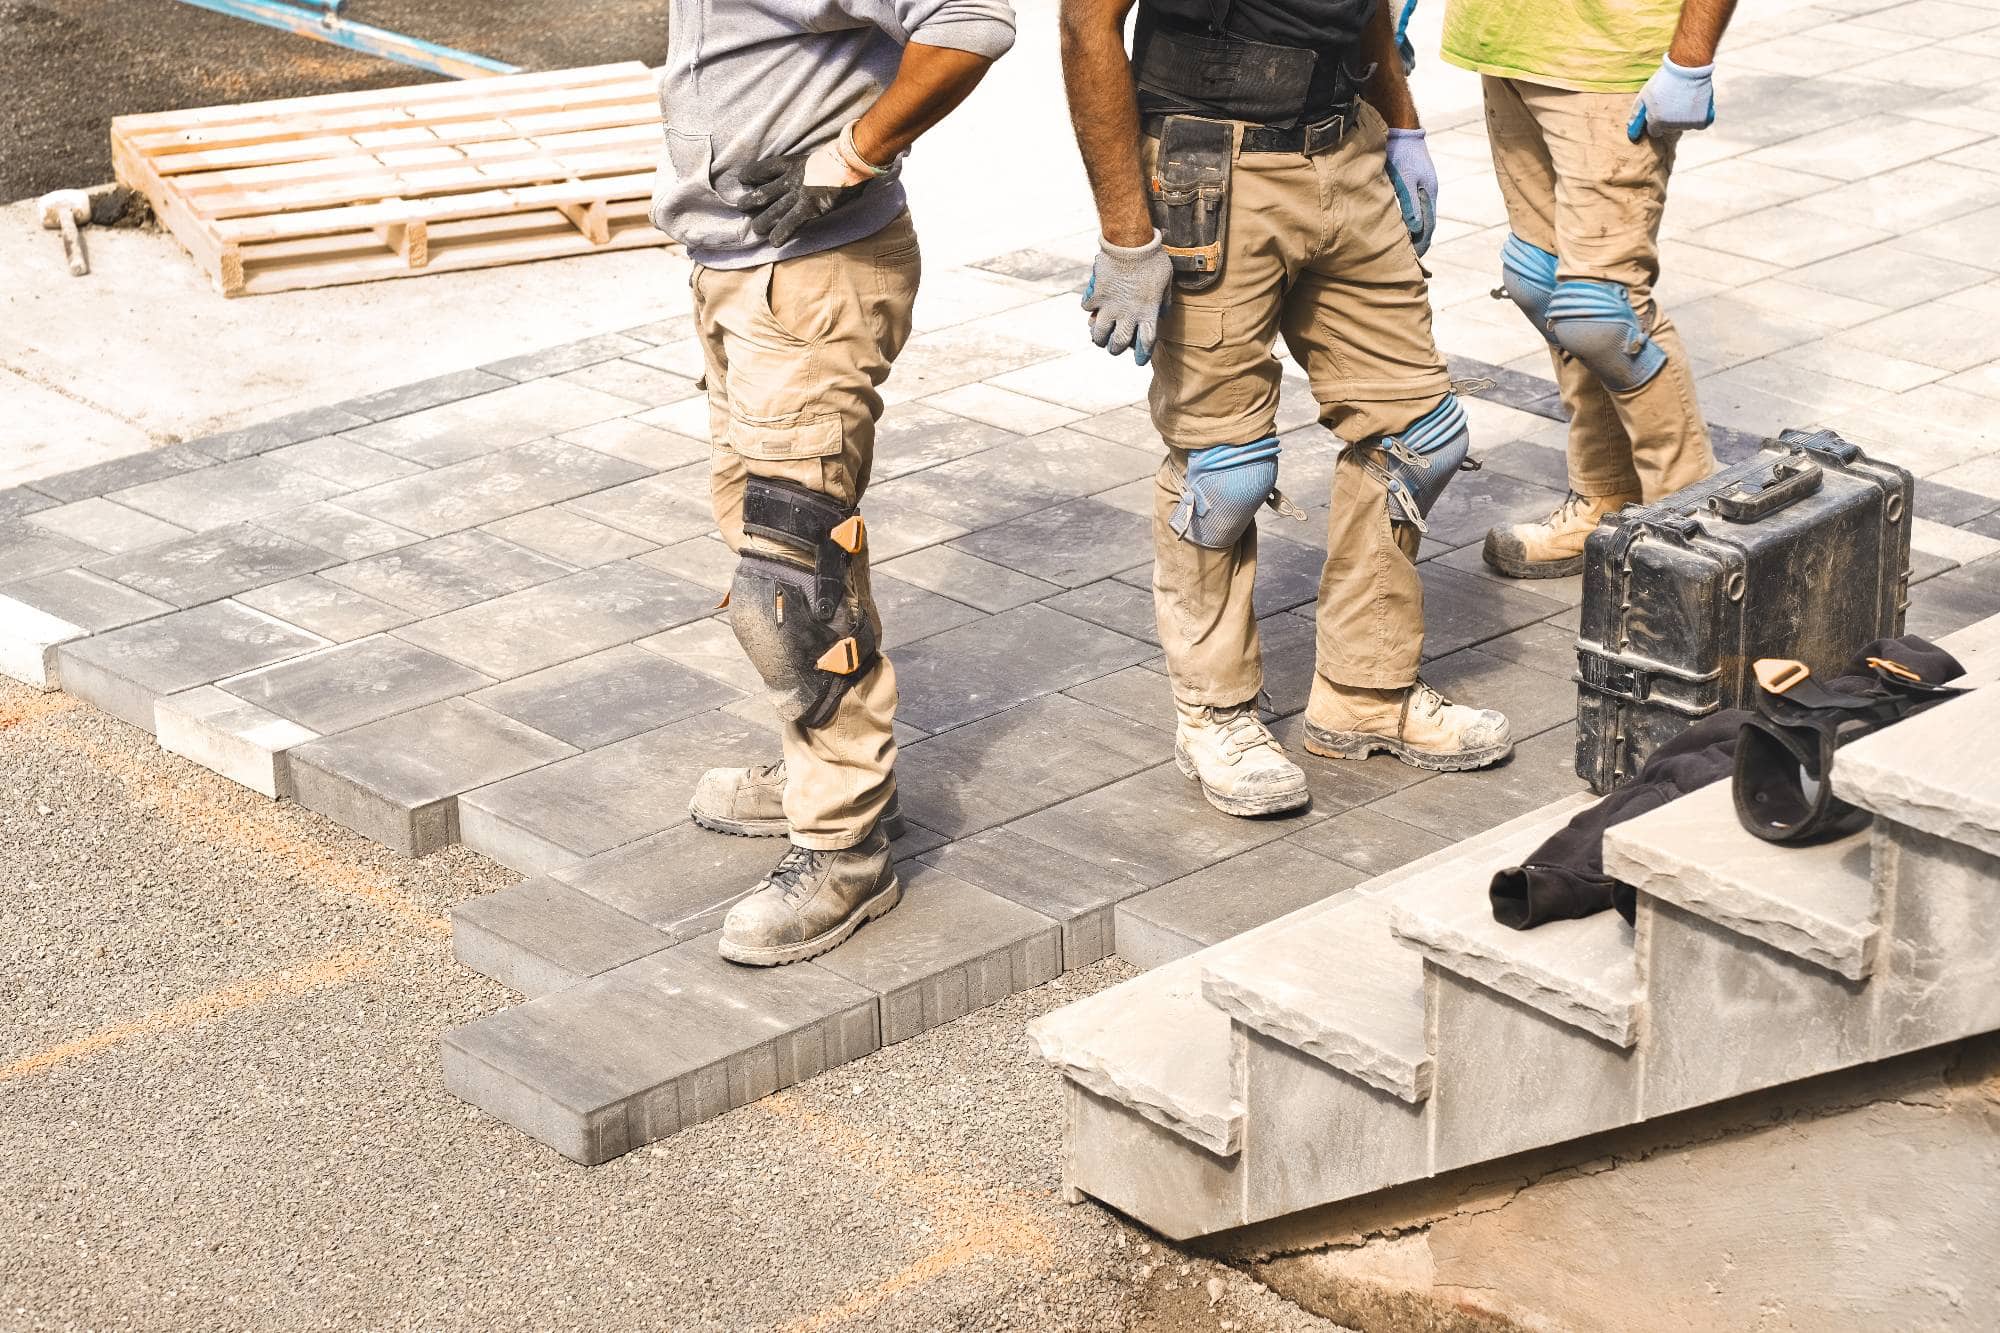
You get complete surface preparation, which most contractors skip. That means proper cleaning, crack repair, and oil stain treatment before we touch the sealer.

We use commercial-grade sealcoating materials designed for Long Island’s climate conditions. Not the thin stuff you see peeling off driveways after one winter. Our sealer contains sand for traction and UV blockers that prevent premature fading.

Application gets done with professional spray equipment for consistent coverage and thickness. We protect your landscaping, walkways, and garage during the process, then clean up completely when we’re finished.
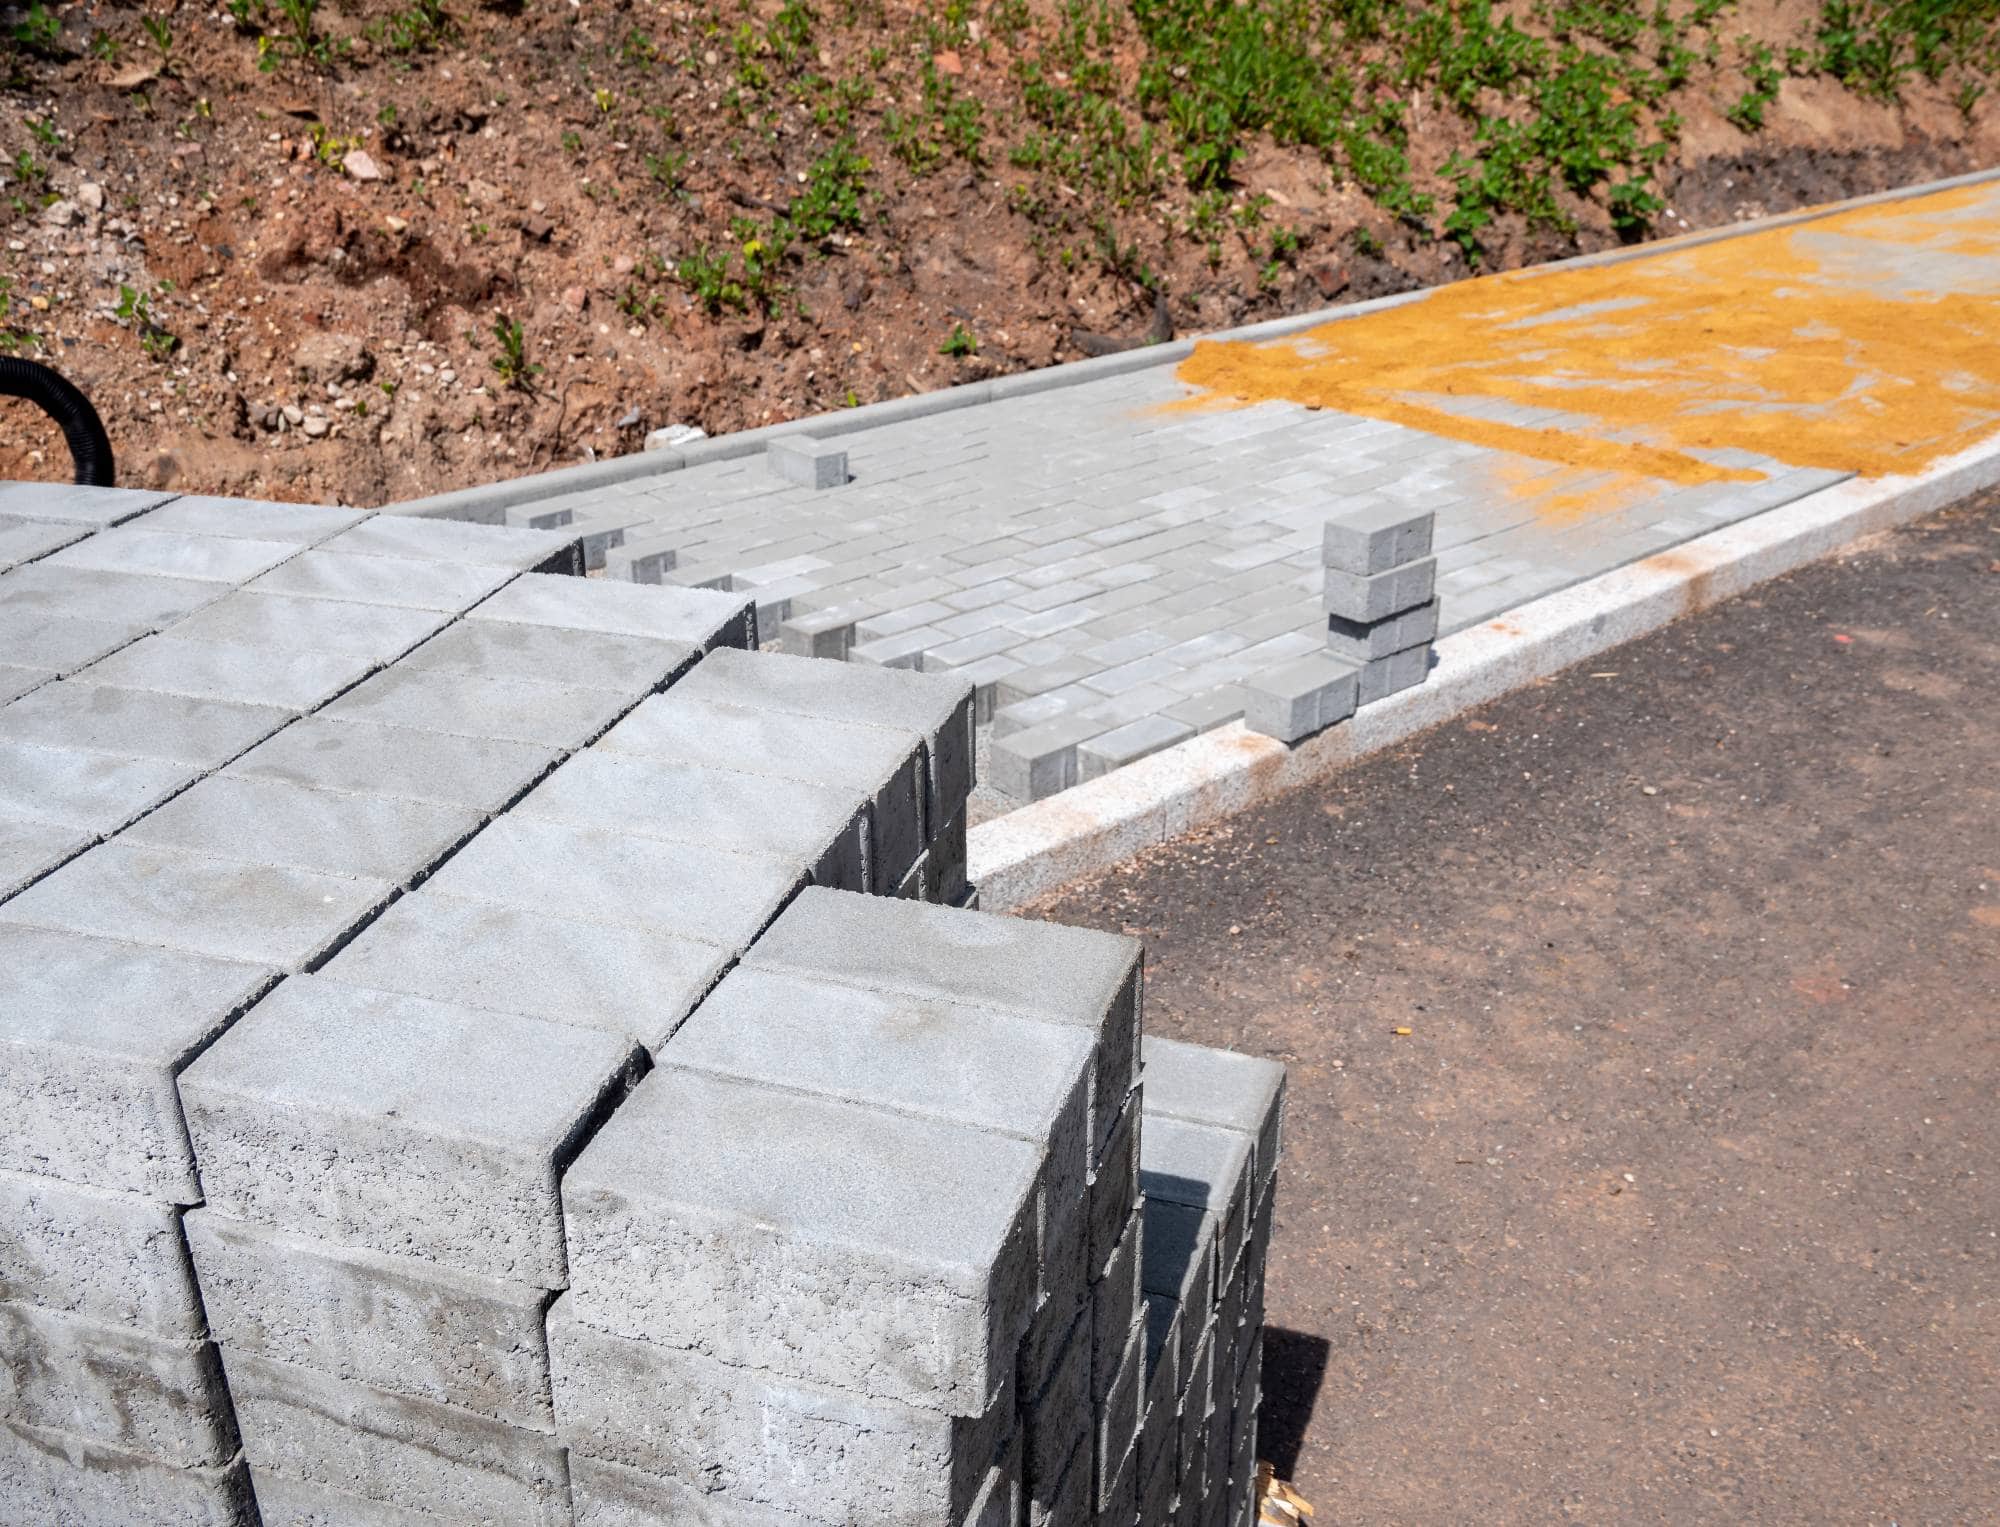
A construction worker wearing gloves, knee pads, and boots is crouched down, placing gray paving stones onto gravel at a work site. Dirt and tools are visible in the background.
Every 2-3 years works for most Long Island driveways, but it depends on your specific conditions. Driveways that get more sun exposure or heavy traffic might need attention every 2 years. Those in shaded areas with lighter use can often go 3 years between applications. The key is watching for signs like fading color, small cracks appearing, or water soaking into the surface instead of beading up. When you start seeing these signs, it’s time to reseal before damage gets expensive to fix.
Late spring through early fall gives you the best results – typically May through September. You need temperatures above 50 degrees and no rain in the forecast for at least 24 hours after application. Summer is ideal because the sealer cures faster and bonds better in warm, dry conditions. We avoid sealcoating too late in fall because cool, damp weather prevents proper curing, which means the coating won’t last through winter. Spring application gives you maximum protection heading into the harsh summer UV exposure.
You can walk on it in about 4-6 hours under normal conditions, but wait 24-48 hours before driving on it. Full curing takes about a week, though you can use your driveway normally after that first day or two. Hot, sunny weather speeds up the process, while cool or humid conditions slow it down. We’ll give you specific timing based on the weather forecast when we do your job. The key is being patient with that initial cure time – driving on it too early can leave tire marks or damage the fresh coating.
Sealcoating fills hairline cracks and prevents new ones from forming, but larger cracks need separate repair first. We handle crack filling as part of proper surface preparation before applying the sealcoat. Small cracks (less than 1/4 inch) get filled and sealed over. Bigger cracks or structural damage require crack sealing or patching before we can sealcoat effectively. The sealcoat then protects these repairs and prevents water from creating new cracks. Think of it as fixing the problems first, then protecting everything with the sealcoat.
Professional sealcoating typically costs $0.15-0.25 per square foot, while DIY materials run about $0.08-0.12 per square foot – but that’s where the comparison gets misleading. You’re not just paying for materials; you’re getting proper surface prep, commercial-grade sealer, professional application equipment, and experience that prevents costly mistakes. DIY jobs often fail within a year because of inadequate prep work or thin application. When you factor in your time, equipment rental, and the risk of having to redo it, professional application usually saves money long-term.
Rain within the first 4-6 hours can damage or wash away fresh sealcoat, which is why we check weather forecasts carefully before starting any job. If unexpected rain hits during the critical curing period, we’ll assess the damage and reapply areas that got washed out at no extra charge. This is part of why you want experienced contractors who understand timing and weather conditions. We’ve learned to read Long Island weather patterns and won’t start a job if there’s any real chance of rain during that crucial first day of curing.