Seal Coating in Box Hill, NY

Protect Your Asphalt Investment Today

Professional seal coating that extends your pavement’s life and saves you thousands in replacement costs.

A person is applying grey tile adhesive with a notched trowel, laying large rectangular tiles in a staggered pattern. Red spacers are visible between the tiles.

Hear from Our Customers

A construction worker in a gray hoodie and gloves is bending over, placing rectangular paving stones on the ground to build a sidewalk or patio. Tools and construction materials are visible in the background.

Professional Driveway Sealing Services

What Quality Sealcoating Actually Does

Your asphalt faces a beating every day. Box Hill’s harsh winters, summer heat, oil drips, and constant traffic all work against you. Without proper protection, you’re looking at cracks, potholes, and eventually complete replacement.

Quality seal coating changes that equation entirely. It creates a waterproof barrier that keeps moisture from penetrating your asphalt and causing freeze-thaw damage. The UV protection prevents that gray, weathered look while restoring the rich black appearance that makes your property look maintained and valuable.

You’re not just getting a coating – you’re getting 2-3 extra years of life from your pavement. That means avoiding the $3,000-$8,000 cost of driveway replacement or the massive expense of parking lot reconstruction. Smart property owners in Box Hill understand this math.

Box Hill Asphalt Sealing Experts

We Know Long Island Pavement

All Purpose Paving has been protecting asphalt surfaces throughout Box Hill and Long Island for years. We understand exactly what this climate does to your pavement – the salt, the freeze-thaw cycles, the summer heat that makes asphalt soft and vulnerable.

We’ve seen every type of asphalt failure and know how to prevent it. From residential driveways in Box Hill’s neighborhoods to commercial parking lots, we bring the right equipment, materials, and experience to every job.

Our team doesn’t cut corners or rush jobs. We understand that proper preparation and application technique make the difference between sealcoating that lasts and coating that fails in the first winter.

Stacks of gray concrete paving stones on the ground next to an unfinished pathway, with some pavers already laid in place; yellow sand and soil are visible nearby.

Our Sealcoating Process

Here's Exactly What Happens

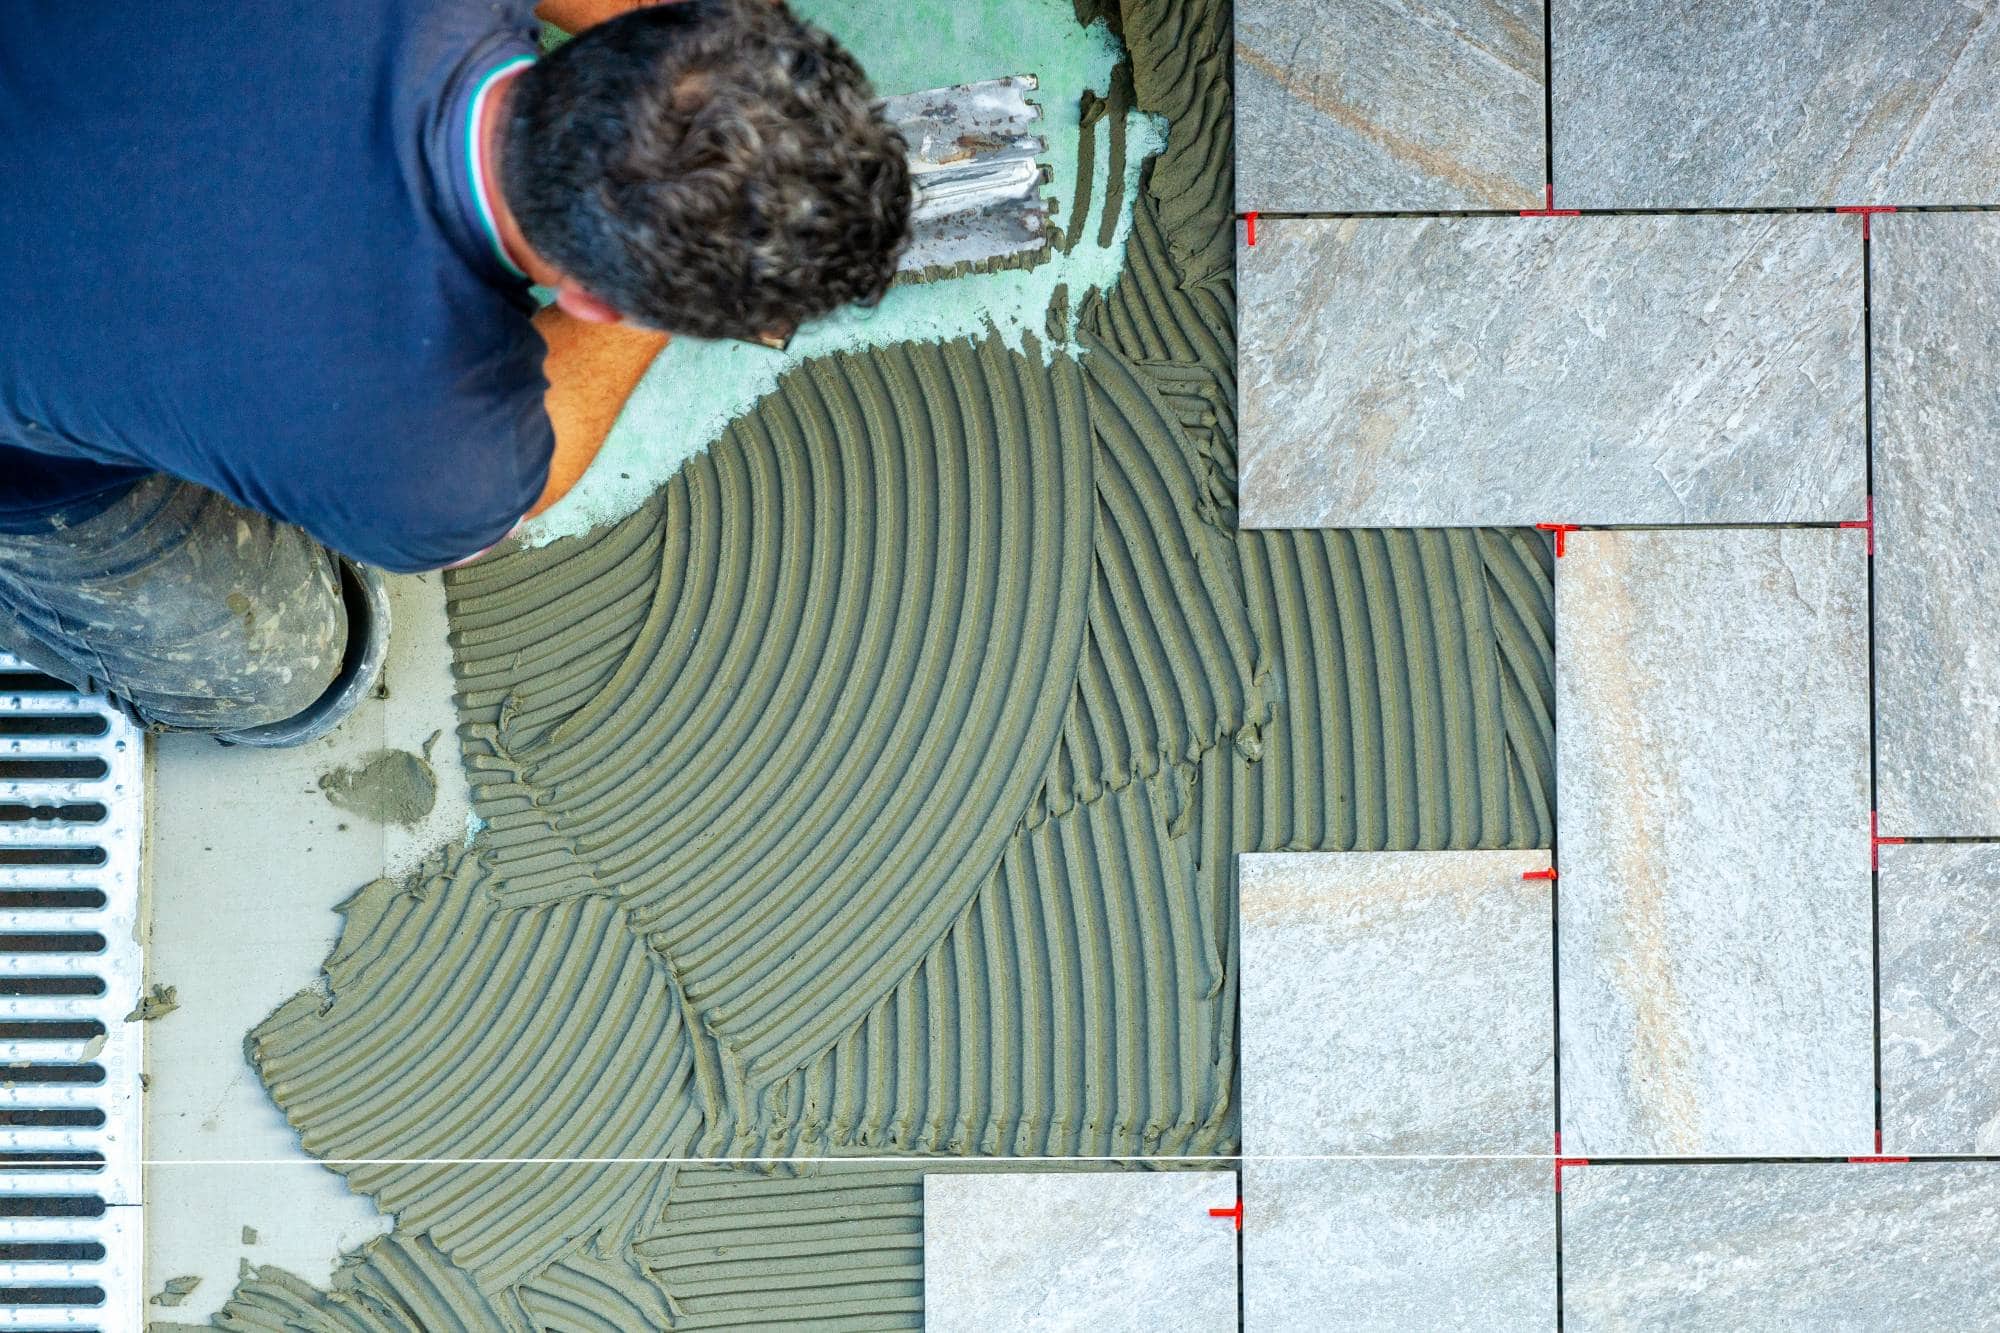
First, we thoroughly clean your asphalt surface. This means removing all debris, oil stains, and loose material. Any cracks get filled with hot rubberized crack filler – this step is crucial because sealcoating won’t fix structural problems.

Next comes the actual application. We use commercial-grade sealer applied with professional equipment for even coverage. We don’t thin the material to save money or apply it too thick to look impressive. The application rate follows manufacturer specifications for maximum protection and longevity.

Weather timing matters enormously. We only apply sealcoating when temperatures will stay above 50 degrees for 24-48 hours with no rain in the forecast. You’ll get clear instructions about when you can walk on the surface and when vehicles can return. Most driveways are ready for foot traffic in 4-6 hours and vehicle traffic in 24-48 hours, depending on conditions.

Three construction workers in work clothes and kneepads stand on a partially completed outdoor stone patio near steps, with tools and a black toolbox nearby. Their upper bodies are mostly out of frame.

Ready to get started?

Explore More Services

About All Purpose Paving | Serving all of Suffolk County, NY

Get a Free Consultation

Complete Asphalt Protection Service

What's Included In Every Job

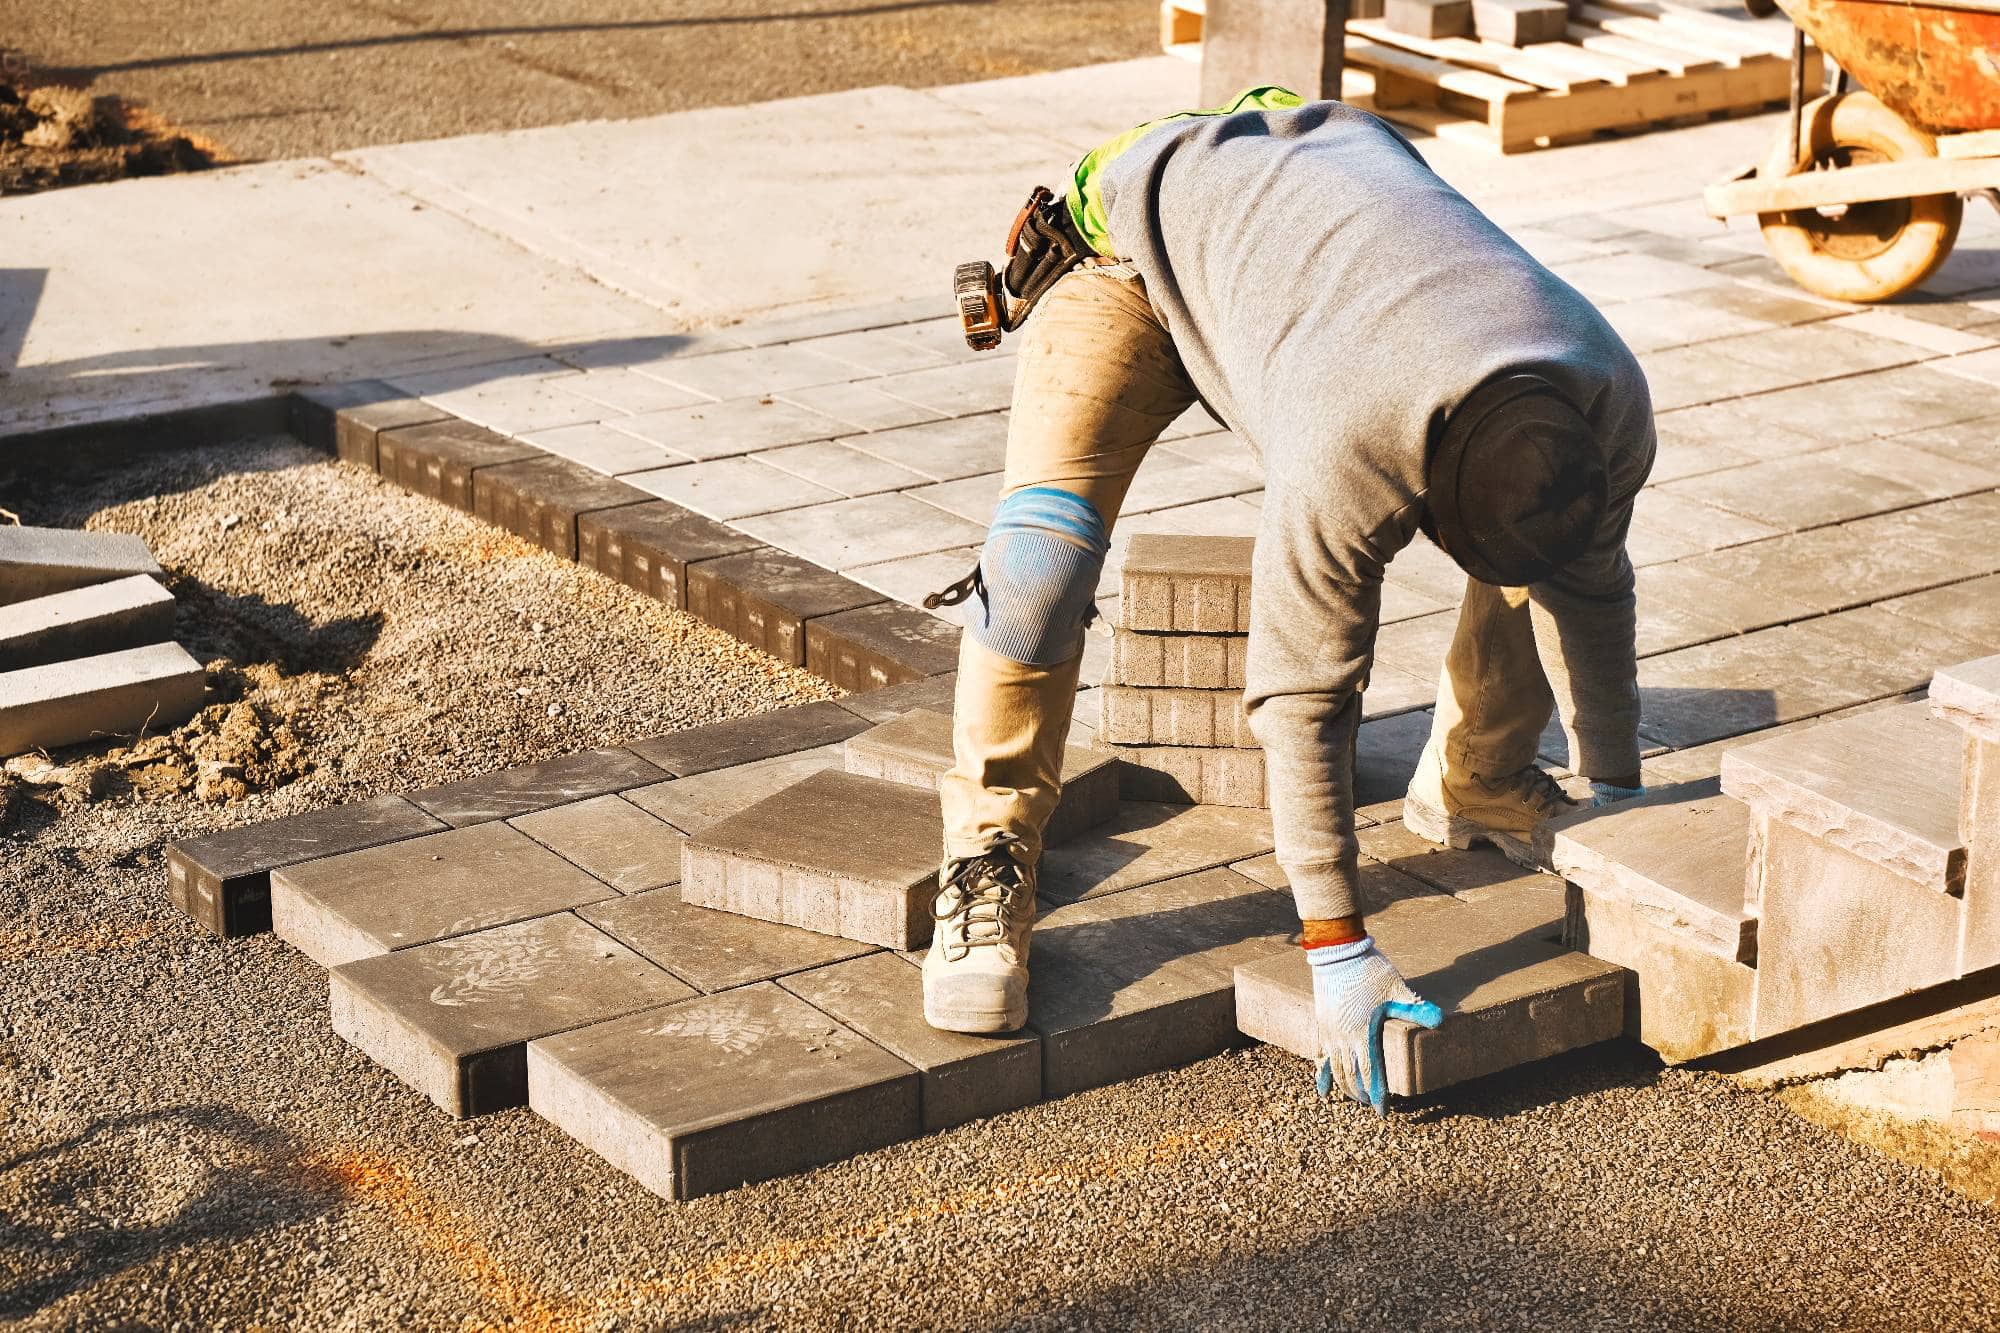
Every sealcoating job starts with thorough surface preparation. This includes power washing to remove dirt and debris, scraping away loose material, and treating oil stains that could prevent proper adhesion. Any significant cracks get filled with hot pour crack filler before sealing begins.

The actual sealcoating uses commercial-grade materials designed for Long Island’s climate. We apply two thin coats rather than one thick coat – this approach provides better coverage, faster drying, and longer-lasting protection. Edge work around garage doors, walkways, and landscaping gets hand-detailed for clean, professional lines.

You’ll also receive clear aftercare instructions. This includes when it’s safe to walk on the surface, when vehicles can return, and how to maintain your newly sealed pavement. We protect surrounding areas like sidewalks and garage doors from overspray, and we clean up completely when the job is finished.

A construction worker wearing gloves, knee pads, and boots is crouched down, placing gray paving stones onto gravel at a work site. Dirt and tools are visible in the background.
Most driveways in Box Hill need sealcoating every 2-3 years, but it depends on traffic, weather exposure, and the condition of your asphalt. A driveway that sees heavy use or gets full sun exposure might need attention every 2 years, while a lightly used driveway in a shaded area could go 3-4 years. The key indicator is color – when your asphalt starts looking gray instead of black, it’s time to seal. Waiting too long means the asphalt oxidizes and becomes brittle, making it harder for sealcoating to penetrate and bond properly.
Late spring through early fall offers the best conditions for sealcoating in Box Hill. You need at least 48 hours of dry weather with temperatures above 50 degrees for proper curing. May through September typically provides these conditions, though July and August can be tricky due to afternoon thunderstorms. Early fall is often ideal because you get stable weather and you’re protecting your asphalt before winter arrives. Avoid scheduling during periods when overnight temperatures might drop below 50 degrees, as this prevents proper curing and can cause the sealer to fail.
Small hairline cracks can be sealed over, but larger cracks need to be filled first with hot pour crack filler. Sealcoating isn’t a crack repair solution – it’s a protective coating that prevents future damage. If you try to seal over significant cracks without proper filling, water will still penetrate through the cracks and cause freeze-thaw damage underneath the sealer. This leads to premature coating failure and continued pavement deterioration. Proper crack filling before sealcoating ensures you get maximum protection and longevity from your investment.
Sealcoating typically becomes safe for foot traffic in 4-6 hours under good conditions, but vehicles should stay off for 24-48 hours minimum. Complete curing takes several days. Temperature, humidity, and sun exposure all affect drying time. Cool, humid conditions slow the process significantly, while hot, dry, sunny weather speeds it up. The surface might feel dry to the touch but still be soft underneath, which is why vehicle traffic needs to wait longer. Turning wheels on fresh sealcoating can leave permanent marks, so patience during the curing period protects your investment.
Absolutely. Sealcoating costs a fraction of asphalt replacement while extending your pavement’s life by 2-3 years per application. A typical driveway sealcoating job costs $200-500, while replacement runs $3,000-8,000 or more. Even if you sealcoat every 2-3 years, you’re spending maybe $1,500 over a decade versus $8,000+ for replacement. The math is clear – preventive maintenance through regular sealcoating saves thousands of dollars. Plus, sealed asphalt looks better, adds curb appeal, and maintains your property value. It’s one of the highest-return maintenance investments you can make.
Move all vehicles, equipment, and anything else off the driveway and keep them away for 24-48 hours after application. Clear any furniture, planters, or decorations from areas adjacent to the driveway. If you have oil stains, point them out to the crew – we’ll need to treat them specially before sealing. Make sure sprinklers won’t spray on the driveway during application and curing. Remove any loose debris like leaves or branches, though we’ll do final cleaning. Most importantly, plan your schedule so you won’t need vehicle access during the curing period. Having a backup parking plan prevents costly mistakes.